www.flickr.com
items in FHFteam on Etsy More in FHFteam on Etsy pool

Sunday 29 November 2009

Resolutions Challenge - Rachel Elliot

Rachel says:
Okies, so I guess my biggest resolution is to love my beads more rather than cucking them in a box once they're finished and I'm bored with them. I also have a slighty more literal take on the resolution theme in the form of my new GlassTag pieces which are highly detailed quirky pieces featuring vintage images.


You can find more lovely glass by Rachel at flyingcheesetoastie

Resolutions Challenge - Ingrid Brunt

FHFteam are running a challenge right now on the word theme of Resolutions. Here is the first beautiful entry by Ingrid Brunt of Brunties Beads.

Ingrid says:
I have risen to the challenge, "to create something lovely inspired by the word/theme RESOLUTIONS" I've gone with the one resolution I seem to make every year....to be less Goddess shaped.


You can find more lovely beads by Ingrid at BruntiesBeads

Thursday 26 November 2009

Pick of the Week - Spotlight on Flowers


I got given the gift of a beautiul bouquet of flowers this week, a wonderful surprise that made me feel special. It is no wonder then that my picks this week are everlasting floral treats from the talented members of FHFteam

Jolene

Featured this week are

Amethyst Flora by JudithBeads
Flower Pendant by aurorabeadz
Lampwork Bead with Fine Silver Flower by FiredSilver
Ama by littlecastledesigns
White Rose pendant necklace by Nemeton

Sunday 22 November 2009

Sparkle Challenge - Julie Haveland Beer

FHFteam are running a Seasonal Sparkle Challenge right now and here are three beautiful sparkly listings from Julie Haveland Beer.

Julie says:
I grew up surrounded by crafts – it was just something everyone did, whether for pleasure or practical use. Not only did this environment give me the love to create, it also gave me the confidence to try out all sorts of craft hobbies as I grew up. In 2003 I picked up a book on chain maille. As time went by I invested in a kiln to fuse glass and later fire Precious Metal Clay. Late 2007 I Googled for an answer to a fusing problem I had, and stumbled upon the Frit Happens! Forum – what a joy to meet so many glass-mad people! The following spring I met with a few bead makers from the forum, and I totally fell in love with the way they teased beautiful beads out of molten rods of glass. Within a week I had ordered the start-up kit, and, as the saying goes, the rest is history :-).


You can find more lovely glass by Julie at DolmairicDesign

Wednesday 18 November 2009

Pick of the Week - Spotlight on Crimson


Vivacious and bold, this weeks picks are fire flecked reds.

Jolene

Featured this week are
Checkerboard glass beads by MyPrecious
Sea Bamboo by jewelsofthedales
Fireballs by flyingbead
Trifle by Tanofcourse
Fumed discs by Redhotsal

Sunday 15 November 2009

Sparkle Challenge - Becky Fairclough

FHFteam are running a Seasonal Sparkle Challenge right now and here is a beautiful sparkly listing from Becky Fairclough.

Becky Says:
Christmas for me is a very sparkly time of year, I love decorating the tree with lots of tinsel and angel hair and baubles. I love to have jewellery that is sparkly for Christmas but I wanted to make something wearable all year round and so I choose to make one of my ranges of beads as cabochons and turn them into little stud earrings.


You can find more lovely glass by Becky at chameleonsdesigns

Tuesday 10 November 2009

Sparkle Challenge - Trudi Doherty

FHFteam are running a Seasonal Sparkle Challenge right now and here is a beautiful sparkly listing from Trudi Doherty.

Trudi Says:
When I think of Christmas I think of snowball fights. Running through snow, trying not to get hit; while laughing so hard that my sides ache!! And that was just last year, some things stay with us from our childhood. It’s just magical, sharing that fun with the next generation. So I made these beads with an opaque white base, and rolled them in a very fine clear frit - the contrast really makes them sparkle, just like sunshine reflecting off the snow.


You can find more lovely glass by Trudi at Shineon2

Pick of the Week - Spotlight on Gift Ideas


This week’s picks are all perfect gift choices for the upcoming shopping fest. One of a kind and handcrafted with love by some of the talented artisan in FHFteam

Hope you like, Jolene

Featured this week are:
Turquoise and Black Liquid Tartan Cufflinks by flyingcheesetoastie
Nest Earrings by FiredSilver
Circular Lattice Ware Bowl by SorbetGlass
Fused Heart Bling Ring by DolmairicDesigns
Stormy waters Sterling silver pendant by Eleljewellery

Tuesday 3 November 2009

Encased Rose Murrini Bead Tutorial

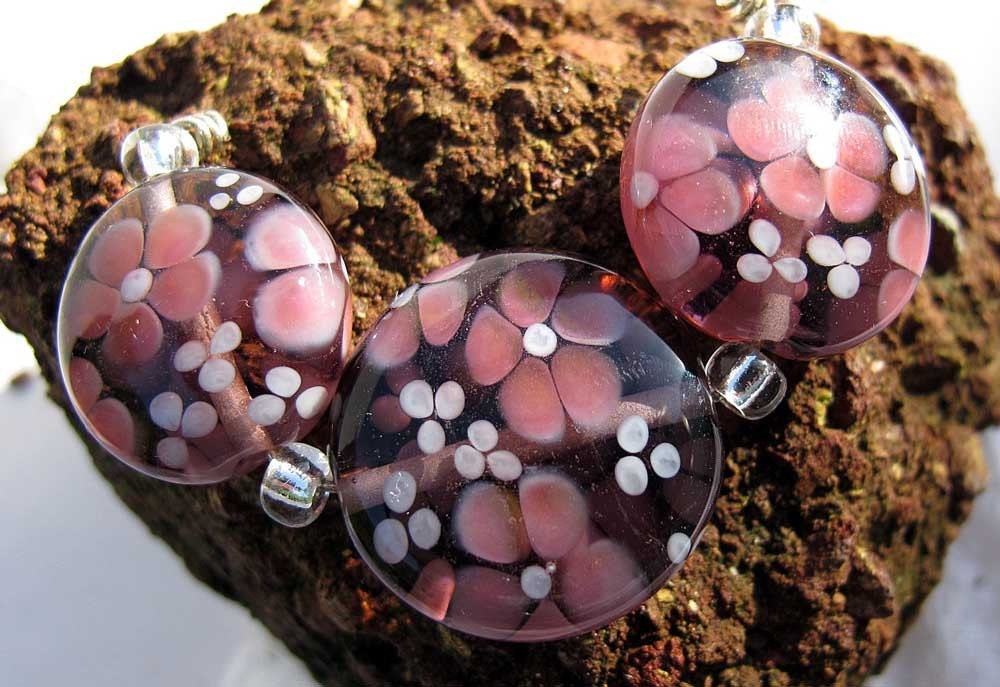
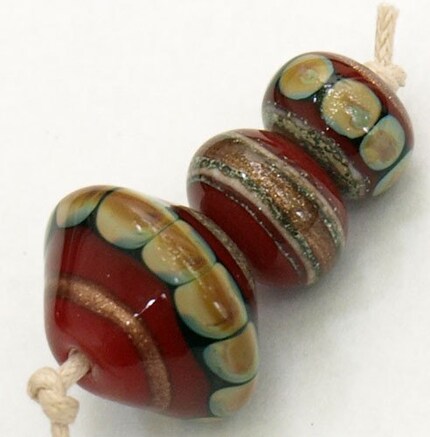
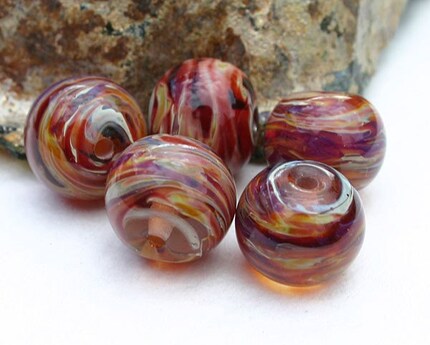
Recently I have been making some pretty rose murrini intended for encasement - they can be a bit tricky to handle so I thought a little tutorial would be a great idea.

First an apology - there are some shockingly poor quality photos, with my low tech camera, which is wearing Diddys taken under bare bulb artificial lighting of my studio. Hopefully as step by step images, they will be enough to illustrate the basic techniques that I use for this kind of bead making.


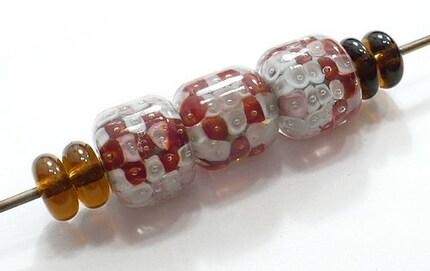
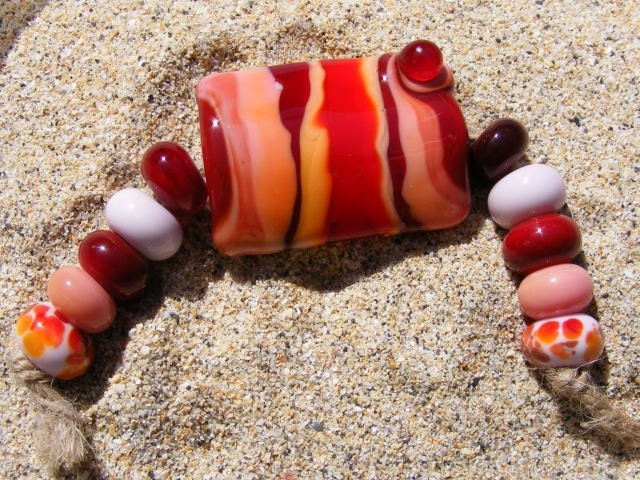
Firstly a quick snap of the pre-prepared glasswork that I will be using - nipped chips of cobalt rose murrini, some ribbon twistie, vine twistie and a bit of white latticino. I will also be using a Graphite bead roller but this method works equally well for gravity shaped beads.


Step one - Add a few wraps of glass to your mandrel


Step two - marver the glass to fit your press or bead roller. If you are making a gravity shaped bead then marver until you are satisfied with the tube shape.


Step three - add vine twistie (or frit, or enamel, or silver foil) to your tube


This is what my base bead looks like with twistie applied - I like to wrap the twistie on from underneath the tube, turning the mandrel towards me as I wrap. This makes the twistie pattern less distorted.


Step four - melt in your base decoration and marver in to a smooth tube shape again.


Step five - recheck the length of your tube against the press/roller that you are using. I like to start on the smallest size in a graduated bead shaping tool so that if my base gets worked so that it is too long I can move up to the next size. For gravity shaped bead this is not important but do pay attention to your bead ends as the neater you keep them at this stage, the neater the end result will be.


Step six - spot heat your tube where you would like to place your murrini. Pick up the murrini with tweezers and press it firmly to your base tube. If it does not stick then your base need was not hot enough. Reheat it and try again. If the murrini are 5-6mm or smaller I find that pre-warming them on a torch top marver is not necessary. Less is more, so depending on the size of your bead, two or three murrini will be plenty.


Step seven - do not put your murrini in the flame once they are firmly attached to your base. Heat some clear or light transparent glass and place dots on top of each murrini. This will stop the pattern from closing up when you introduce the murrini back in to the flame. It is a good idea to flash your bead through the top of the flame next to stop it from getting too cool and cracking.


Step eight - heat the covering dots of glass and gently flatten them. I turn the flame down low to do this.


Step nine - run some latticino in the gaps between the murrini. Again I do this in a very low flame. No need to melt the latticino flat but a good idea to turn up your torch and flash the bead through the top of the flame again at this point.


Step ten - From this point on you will not be putting your base bead back in the flame. Work close to and just behind the flame to keep your base bead warm. Add generous blobs of your transparent glass to your base bead. Make sure that you completely cover all of your raised decoration. I find that if the heated end of the encasing rod is really hot and runny before I dab less air bubbles will be created.


Step eleven - once your raised decoration is all covered add more blobs of clear so that your bead has a roughly even coverage.


Step twelve - melt in down your blobby encasement using a moderate flame. Too hot and your glass will start to run smudging all of your raised encased elements. It helps to "pat down" some of the larger blobs with a marver to get your bead roughly into shape.


Step thirteen - gently press your bead into the press or bead roller to get it roughly in shape. If you have added too much clear then move on up to the next size. If you are gravity shaping this step is not needed.


Step fourteen - add small dabs of your encasing colour where needed to fill in any dents and smooth out the shape of your bead. From this point on I stop using a bead roller and use gravity shaping to finish the bead.


Step fifteen (optional) - add further twistie decoration to the outside surface of your bead.


Step sixteen - melt down any surface decoration and finish gravity shaping your bead


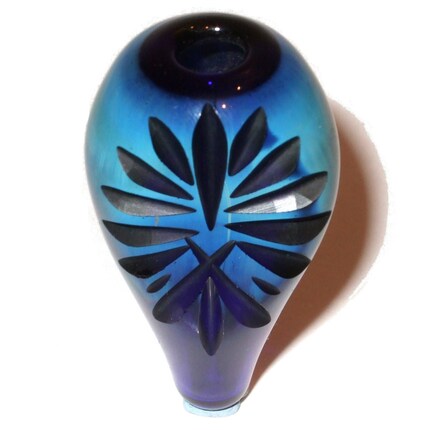
Step Seventeen - heat one side of your bead at a time and tip your mandrel to let gravity create nice dimples at your bead holes.


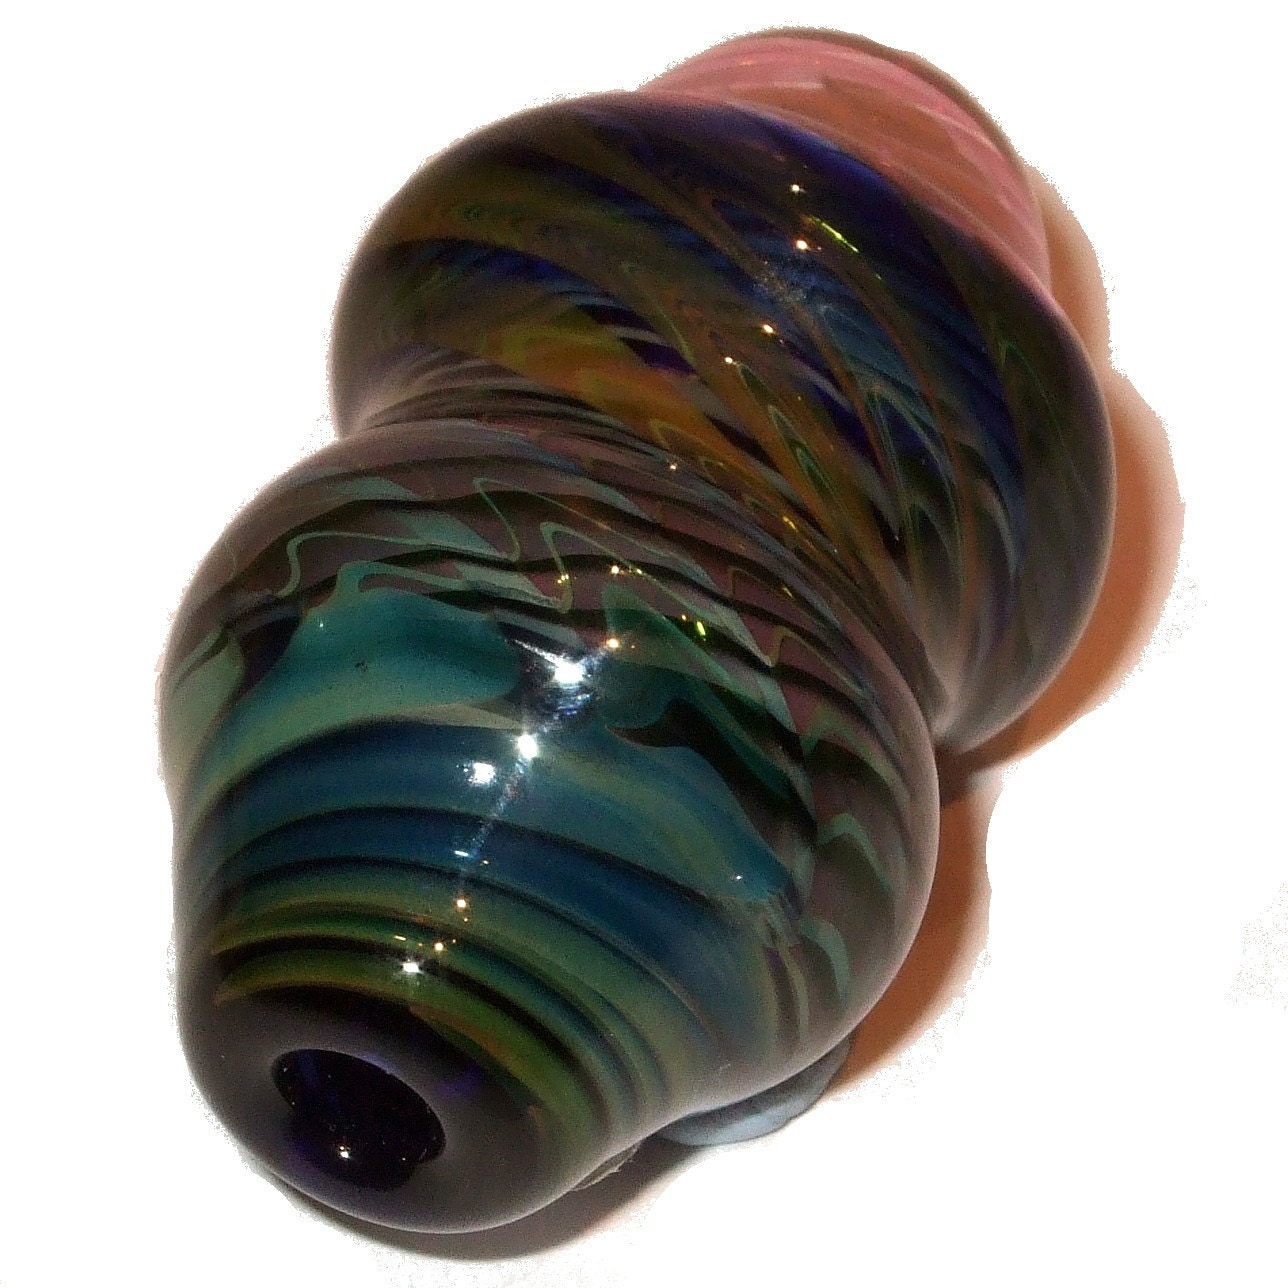
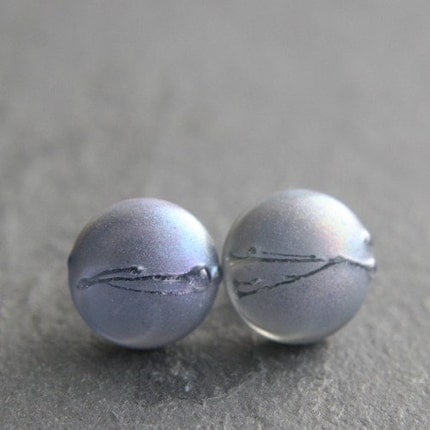
Step Eighteen - Admire your handiwork. Flash your bead through the flame thoroughly to warm before popping it in to the kiln.

You can find my glassy offerings on Etsy at Kitzbitz and pre-prepared glasswork in my U.K. Art Glass Shop

Monday 2 November 2009

Screen-printing On Glass

I thought I'd post something a bit different, mainly because that pretty much sums up my studio practice. My name's Rachel and I'm a member of the FHF Team. I'm a full-time glass artist and have been working with glass for about 9 years now, setting up my studio just under a year ago in Edinburgh, Scotland.

Anyway, although I teach beadmaking, I don't sell my beads, I'd much rather admire other people's! So I thought I'd do a quick introduction to one of the other techniques that dominates my practice: Screen-printing. I use special screen-printing enamels that are kiln-fired onto the glass, which can then be further slumped or cold-worked, the options are endless!


The first thing you need is an image, I found one my sister had doodled in her living room and swiped it, as you do! I then scanned the image and printed it onto acetate ready to be exposed onto a screen. The acetate is key as it allows the light to pass through and the black ink blocks the light where you want the enamel to later print through.


I coat the screen with a photo-sensitive emulsion, that is exposed to light with the acetate sheet on top of it, to create the designs I want to print. I then cut the glass to size, in this case a circle with a hole drilled in it for hanging and then print the enamel onto it using the screen and a squeegee to push the enamel through the mesh.

Once printed, the glass is then fired at around 700 degrees in this case, as I wanted to keep the circle flat and the enamel to go nice and shiny. The whole process took less than a couple of hours and hopefully shows you how easy it is to put custom designs onto glass. As you can see from the screen, which is A4 size, there are some other bits and bobs I'm working on at the moment for Christmas, so please visit my Etsy for more gift ideas.

The Trials and Tribulations of a Newbie Lampworker!

Dots. I hate them. I just can’t control the blasted things and they end up all over the place, all sorts of different sizes, or just plain splodgy. Practise, practise, practise? Bah, I don’t have the PATIENCE for that! I want perfect dots and I want them NOW!

Why do I want to be able to do dots? Well, I see everyone else with their beautiful dotty and bumpy beads and I want to be able to do the same, but without the wasting of glass and gas and time and energy and.... well, you know what I mean. I’m mean.

And I hate the frustration of it too, I find I get so wound up that I just don’t want to do it any more, and I give up trying and go do something else which does not require blasted dots! In fact, I gave up trying dots within my first month of lampworking.
My early "dots". Oh dear........

I am only just now, five months on, giving them another real try.
And it’s painful, it’s like pulling teeth or fingernails. It hurts. But I am going to persevere this time, and I’ll tell you why.

Dots deserve our love. That bright yellow dot in the blue sky, the millions of sparkly dots on the night sky, the dots of Braille that enable people to read, a baby’s beautiful big eyes......Without that dot at the end of a sentence the sentence would never end. Dots are everywhere around us and deserve love and respect. Yay for dots!
And to all those of who have made the time and effort to practise and perfect those lovely dots, I applaud and respect you, and I apologise for being mean!

Last weeks Dots, much better! Still needs PPP though :-)


You can find me on Etsy :-)